Showing posts with label Kid 2. Show all posts

Monday, 15 September 2014

Tips for my non-homeschooling parent friends during this interminable teachers' strike!

Worried about your kids falling behind during this teachers’ strike?  A few people, knowing that I homeschool my son, have asked me for tips on resources.  Here are some of the suggestions I’ve made, based on our experiences:

#1 - the public library!  Just get lots of books.  All kinds of books.  On every topic under the Sun - and beyond!  If your child has a particular interest (be it a sport, hobby, art, etc), feel free to extend beyond the Children’s section.  If they’re reluctant readers, read to them, or invite other kids/friends/family to do so. Or get audio books.  Your librarian is your best friend.

These are the ones I use most often:

And here is a map with all the Lower Mainland libraries pinned:

Looking to buy textbooks or workbooks?  The Greater Vancouver Homelearners website has a listing for curriculum and book (and other cool stuff) suppliers, both local and online vendors:

Language arts

For the little ones:
(for learning to read)

Read something appropriate for their age/abilities to them (or have them read it themselves), then have them tell you back what happened (they can imagine they’re telling a friend or relative about it).  If they’re older, they can write out a wee summary.  This is called “narration”, and is a cornerstone of the “Charlotte Mason” method of education (she was a Victorian educator with some pretty radical ideas for her time, primarily focused on ensuring nobody wasted children’s time with “twaddle” i.e., unworthy material).

Two more Charlotte Mason gems:
  • Copywork - have them copy classic quotations that not only are written well (copying good writing is a start to writing well oneself) but may have some inspiration or value that you’d like to inspire in them.  Older kids can copy longer passages.
  • Dictation!  Old school works!  Read something to them, a little bit at a time, and they write it down.  Choose something of appropriate length and difficulty.

Peggy Kaye’s books Games for Writing, Games for Reading, and Games with Books are all excellent for the Primary school set.  I know there are a few copies scattered among the libraries.

Math
Ah… here’s the one people are most worried about!

Board games, card games, dice games, games, games, games!  Check thrift stores and garage sales if you don’t have many games yourself.  For kids who have issues with winning/losing, invest in a few cooperative games.  “Max the Cat” by Family Pastimes was a favourite around here when my kids were primary-school aged, along with “Save the Princess”.

Yes, this is Math too!

Peggy Kaye’s book Games for Math and the massive tome Family Math have tons of excellent ideas and activities for the Primary school set to help them really truly understand numbers.  In this age group, two concepts are the most important foundations upon which all further arithmetic is built: place value and finding pairs of numbers that make 10.  Focus on those, and keep it fun.  Both books are useful to about grade 3 or 4, and possibly for kids who need some extra attention to the basics and some confidence-building work up to about grade 5 or so. The games are easy to figure out, and usually don't require much preparation on your part.

Boxcars and One-Eyed Jacks is a series of books (including dice/cards/etc) that are fantastic for learning math.  Do pay close attention to the suggested levels.  We bought the DecaDice book too early, and didn’t find many fun activities for when Kid 2 was that age.  So we put it aside until about grade 3 or 4, and then it got more fun.

From about Grade 1 or 2 onwards, (all the way up to College…), Khan Academy is a great website, and it’s free.  Sal Khan and his website are revolutionizing the way math (and other subjects) can be taught and learned.  Your child will start with a “placement” activity that will throw a bunch of math questions their way (one at a time!).  Warn your child ahead of time that the computer doesn’t know how old they are, and they won’t have learned *lots* of stuff yet, so if they haven’t learned something yet, they can just click on the “I haven’t learned this yet” button and it will gradually narrow stuff down to their level.  They may need support through this because they may get upset, being used to tests that only test what the teacher knows they’ve been taught.  Just stick by them and go through it.  Once they’ve done the placement questions, the system will present many possible activities in different mathematical areas.  Students earn points and badges for various accomplishments (so many right answers in X amount of time, watching X number of videos, etc.).  There are extensive lesson videos that can be accessed for just about any topic your child might need, either for review or learning something new.  Sign yourself up too, so you can try it out (ideally first), and you can sign yourself up as your child’s parent so you can track their progress.

[Note of caution re: signing your child up using their Google account: If your child is under 13, they’re technically not supposed to have a Google or Gmail account, and Google may somehow cotton on to this fact and lock them out of their account.  This happened to us, and while I don’t know how they cottoned on to it, I suspect it could have been through Khan Academy.  The same could apply if they have a Facebook account.  Just sign them up using an e-mail address.]

If you’re looking for something more “workbook-like” (free’s great, but you have $40 per day coming your way!), Maria Miller’s Math Mammoth workbooks may fit the bill.  They aren’t expensive, and you can order them as e-books (i.e. PDFs) so you get them right away and you only need to print out what you’ll use.  There are free assessment “tests” you can download to try on your kid to see what level they’re at, if you’re not sure.  They also have some free sample pages you can try out too.  She has set up her system a couple of possible ways.  You’ll probably be interested in the “light blue series” which are a complete curriculum organized by grade.  But if you know your child has deficiencies in specific topics (or is particularly interested in certain topics) you may want the “blue series” which are organized by topic.  She also has review workbooks, sets of worksheets, and more.  She has a video that explains the differences.  I haven’t used her products, but I do subscribe to her newsletter and I love the way she thinks (Kid 2 just isn’t much into workbooks, so I’ve hesitated to invest.)  She also has some other great resources on her website, including her approach to teaching multiplication, which I think is very effective, and we have used to some extent.

There are also some fun activities on a cool Canadian website called Math Pickle.  They have stuff covering K-12.  Some of it is group activities, which our little homeschooling math group enjoyed doing last year, but much of it could be done with just you and your child.  Some of it doesn’t look much like math, but if you watch the videos, I think this teacher does a great job of explaining the purpose of the activity.  The videos are intended for teachers (though not complicated), but you’ll want to watch them yourself, then organize the activity, then show your kid how to do it.  Don’t just make them watch the video.  Some of the activities are card-based games, and he has a page where he suggests excellent board games.  There is TONS of stuff on this site, much of it organized by grade-level “tabs” at the top of the pages, so make sure you dig around.

Overall

If you’re just looking for a simple one-stop workbook that will cover the bases, we are currently using the Comprehensive Curriculum of Basic Skills Gr. 6 (they have them for each grade, I think) which covers Language Arts and the basics of Math.  In our case we have not had a formal approach to learning… well… anything yet, so we just decided to have something that would just go over everything.  The book is organized into different topics, and while I don’t always think that what they put under each topic actually fits the name they gave it (e.g. the “reading” section is really spelling), it will cover the basics of spelling, grammar and reading comprehension, along with Math.  I calculated how many pages from each section that he would have to complete each week to finish the book in 32 weeks of school, and made a little chart that Kid 2 uses to keep track of how much he’s accomplished that week.  So far so good, especially for my very reluctant writer.  Husband-man bought our copy at Black Bond Books, and if you’re not keen on ordering stuff online from mega-retailers, they’re always happy to bring stuff in for you and can do so pretty quickly.

And if your kid is giving you the “I’m bored” line, here is a list of possible things to do:
(I printed a copy of this and keep it handy.)

(Of course PE = go play outside! Science too!)


Monday, 25 August 2014

Bathroom Ta-Da!

Everyone keeps asking if we're finished with the house renovations... well, it's a house - one is never "done" a house!

But here at least is one finished room... or at least it's mostly finished.

Of course, despire poring through my files, I can't find a "before" photo.  So here's a photo of the old vinyl flooring that I found underneath the vanity in the upstairs bathroom:


Ick.  Interestingly, I actually found a very similar design in one of the major flooring companies' online catalogues.

So this room was completely gutted - walls, flooring, windows, the whole nine yards.  We re-arranged the layout a bit, since the original layout had the toilet facing the door.  We also made the doorway a bit wider, which came in handy when Kid 2 was in a wheelchair for a few weeks.  I love the way the flooring turned out... it's a Tarkett fibrefloor (vinyl) that is lovely and warm and cushy, but it looks like marble tile.  Did I mention it's warm underfoot?  A treat for the feet.


I hate tile surrounds in a shower/bath enclosure, so we went with a one-piece fiberglass tub/shower enclosure that the contractor picked out for me at Glass World.  I'm very happy with his choice - it's narrower at the foot/faucet end so filling it uses a bit less water, and it's nicely contoured for leaning back against.  

The contractor usually likes to recommend Toto dual-flush toilets for their reliability, but it just wasn't in our budget.  He did say that he'd had clients who had picked up toilets from Costco (without asking him) and while he had misgivings about it, they seemed to have no problems with them, so we went to Costco to check them out.  I was thrilled to see that they only had 2 toilets available, both at a very good price, so we went for the nicer and slightly more expensive one.  And I didn't have to look at an entire aisle of toilets.


A few weeks ago I installed some open shelves above the toilet for holding all the bathroom stuff.  I re-used shelves and shelf supports that I had on hand, but I think they came from Ikea.  The galvanized mini-buckets are plant pots, also from Ikea, and the green baskets are from Daiso.  On the windowsill is a tower of swing-out containers that we use to store all our hair do-dads.  Every woman with long hair should have a hair do-dad storage tower.  And that oblong thing between the toilet and the wall?  A brilliant Ikea item from a few years ago - the lid lifts up to reveal toilet-paper storage (it holds 9 rolls), and at the back is a toilet brush in its own container that you can lift out so you don't drip icky toilet water anywhere.  

When it came time to install the vanity, I didn't have much time, so I had to go with whatever I found in stock at the home improvement store.  This one was an all-but-the-faucet-in-one and while it was more blindingly white than I had in mind, I really liked the clean-lined sink top on it - no weird corners for gunk to build up.  The shaker door style fits in with my kitchen cabinets and, fortunately, the bathroom door swings such that you can't really compare the colours directly.


The mirror actually came with the house - it was a dusty old mirror with a tacky gold lumpy/carved frame that I found by the furnace in the basement.  I painted the frame shiny black, and replaced the old mirror.  It took a while for Husband Man and I to sort out how it would be mounted - and then he surprised me by putting it up one weekend while I was at work!

Kid 2 insisted that we had to have this faucet.  It cost about $40 more than I wanted to spend, so I told him that if he wanted it, he would have to chip in from his allowance savings, and he readily agreed.


I'm glad he insisted.  This is a lovely piece of jewelry in my bathroom.  It's a Price-Pfister faucet and despite the same brand's failure in my kitchen (long sad story), this one has performed well.

Of course it's not completely done!

If you were paying attention, you might have noticed that the door swings towards the vanity.  I reversed the door swing hoping that it would work better this way.  But it means you have to close the door to use the sink.  That's not a big deal.  A bigger problem: we forgot to tell the electrician about the change in door swing, so the switches are all behind the door.  I hate that, but will have to live with it for now.  

The plastic drawer unit next to the vanity holds important supplies like band-aids and the like.  I just needed that extra little bit of storage and we had this one on hand.  It's not very attractive, but it works just fine for now.  Eventually I'd like to put a set of cabinetry drawers here, but it's tricky finding fully-functional drawers in that width (it definitely can't be wider than 12")

And I'd like to install a small tile backsplash behind the sink.  Just a few rows of subway tile would do the trick.  I will likely tackle that job when I do the backsplash in the kitchen.

Monday, 21 July 2014

I Love Cats and Broc-co-li


Our cat Ollie is an escape artist.  When we adopted him from the rescue agency as a 6-month old kitten, we had to promise to keep him inside.  We don’t mind because we understand that indoor cats have much longer lifespans.  They have a lower risk of catching communicable diseases or being injured by cars, people or other animals.  Not to mention less likely to bring fleas in.  But Ollie likes to go out and rumble with the other neighbourhood cats.  He likes to chase (and catch!) birds.  And he likes to eat grass.  It’s a world of adventure out there for him, and he wants out!  

He waits by the door, so we have to kick as we come in the door to keep him from escaping.  (He’s fine, he backs away in plenty of time, so we don’t actually kick him.)  But sometimes we forget, or we’re carrying something in or out and he manages to escape.


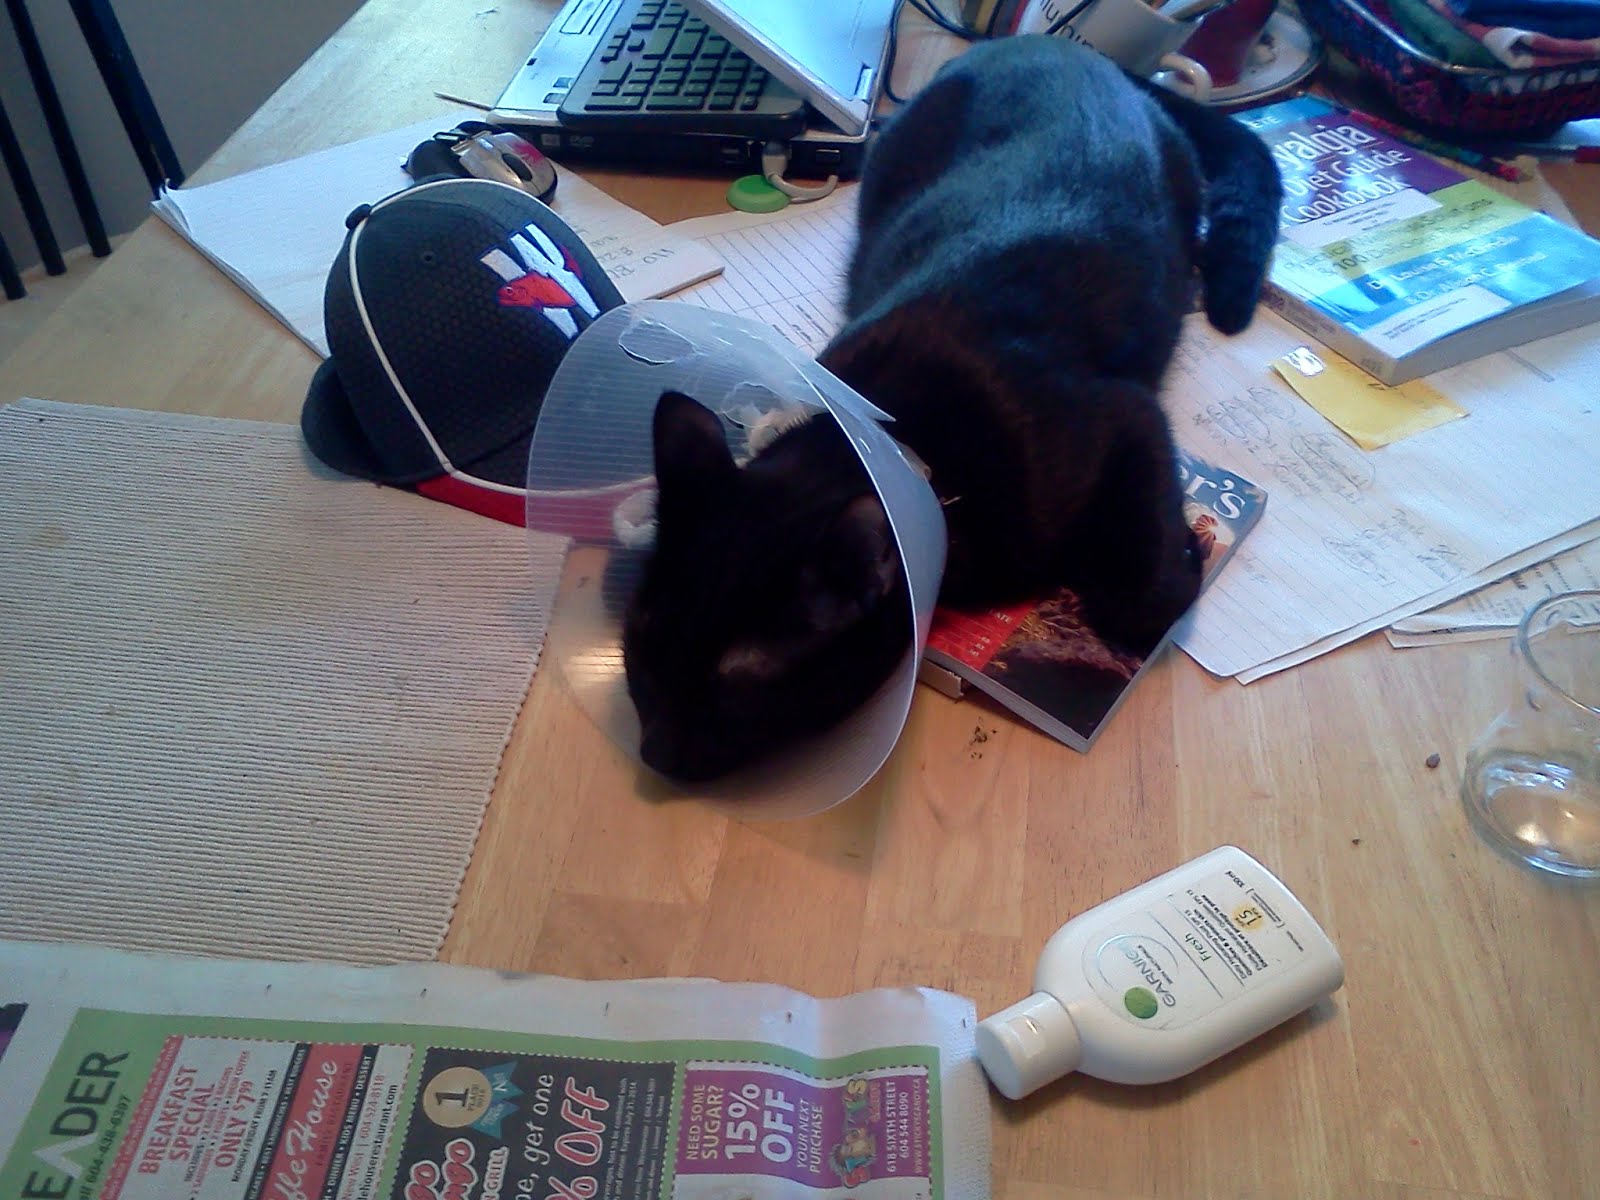
Sometimes this leads to problems.  Lately he’s come back a couple of times with badly scraped carpal pads (the pads that go with the claw up by the “wrist” area on the forepaws).  Either it happened fighting or - more likely - climbing trees.  Then he bites them so they don’t heal well, so we have to put the “cone of shame” on him.  And he looks so silly, we can’t help but laugh.  Once he’s healed a bit, the cone comes off and he’s back to his usual escape artistry.

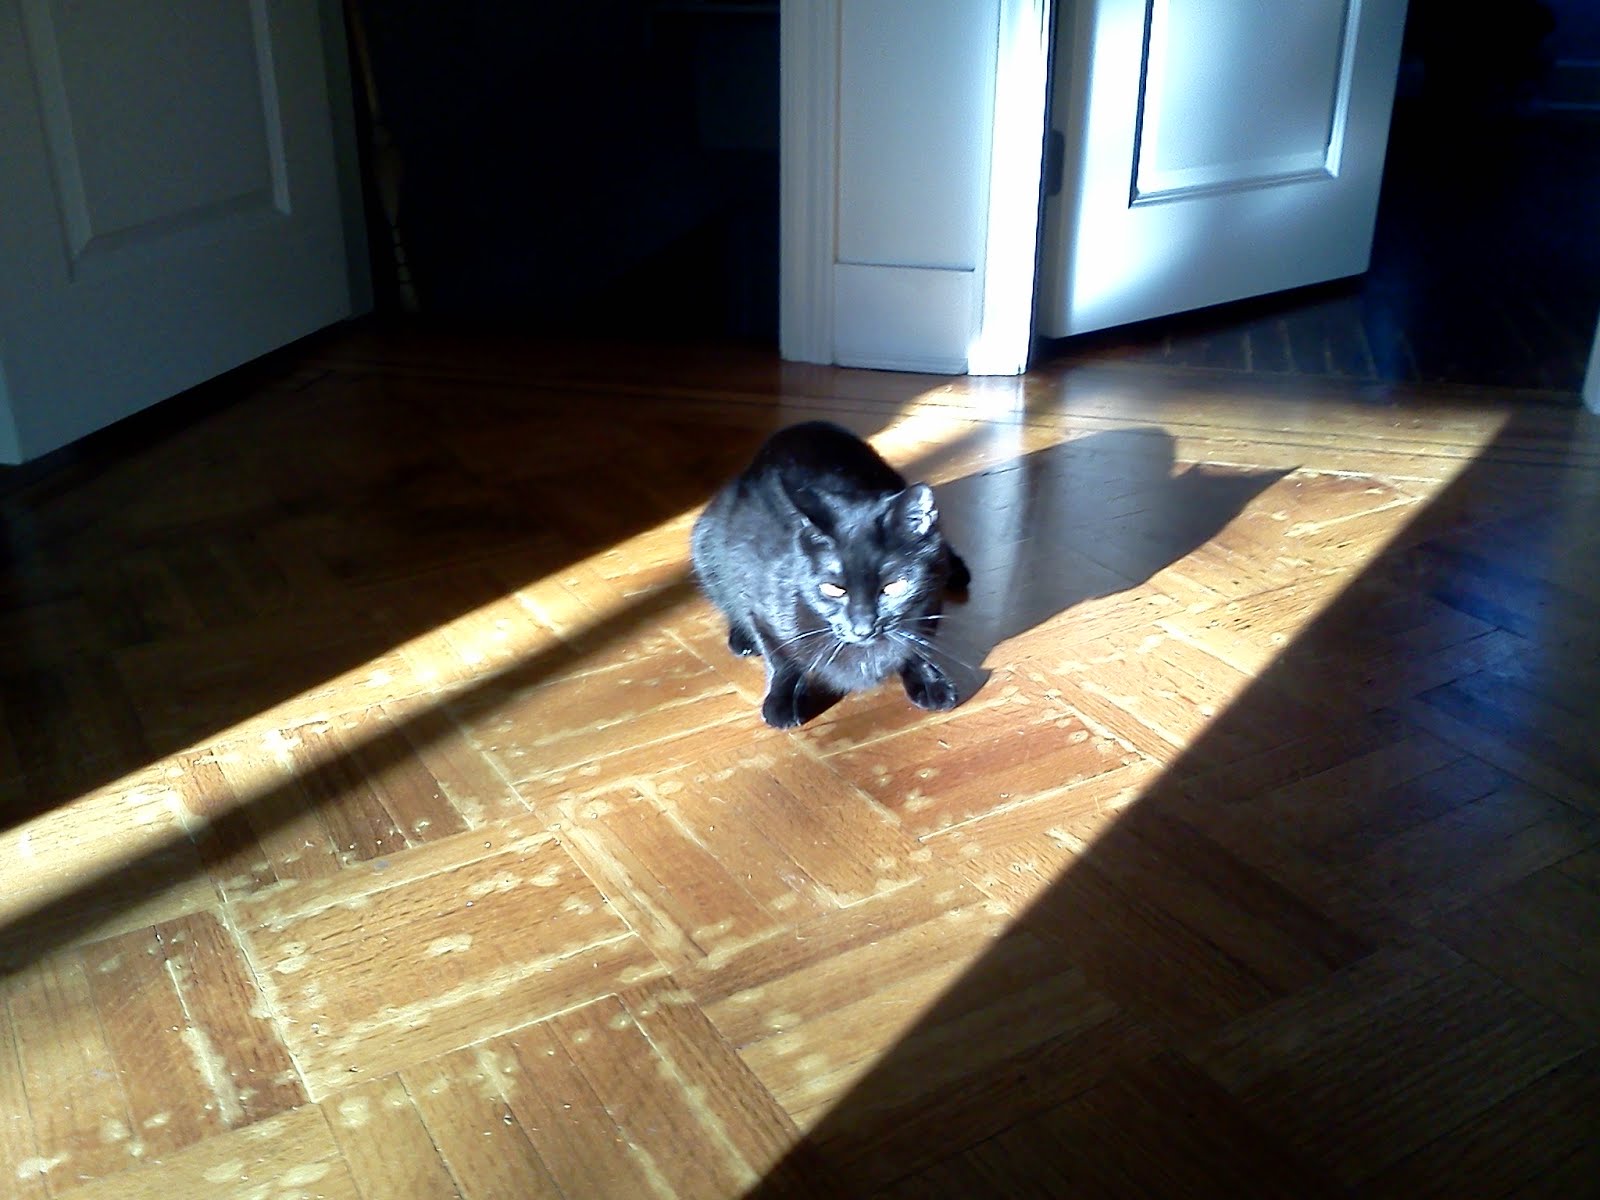
One day last week, Kid 2 and his grandma, Yan Yan, were walking back from the local outdoor swimming pool when they saw Ollie outside.  Kid 2 called him, and he came over, so they grabbed him and brought him home.  Then they realized that there were 2 identical black cats in the house!  Oops.  But which one was Ollie?

Fortunately, Calvin remembered that our cats like broccoli (they get really upset if we cook some and don’t give them any) and we happened to have some left over from dinner.  He put a piece on the floor, and once Ollie pounced on it, they kicked the other cat out.


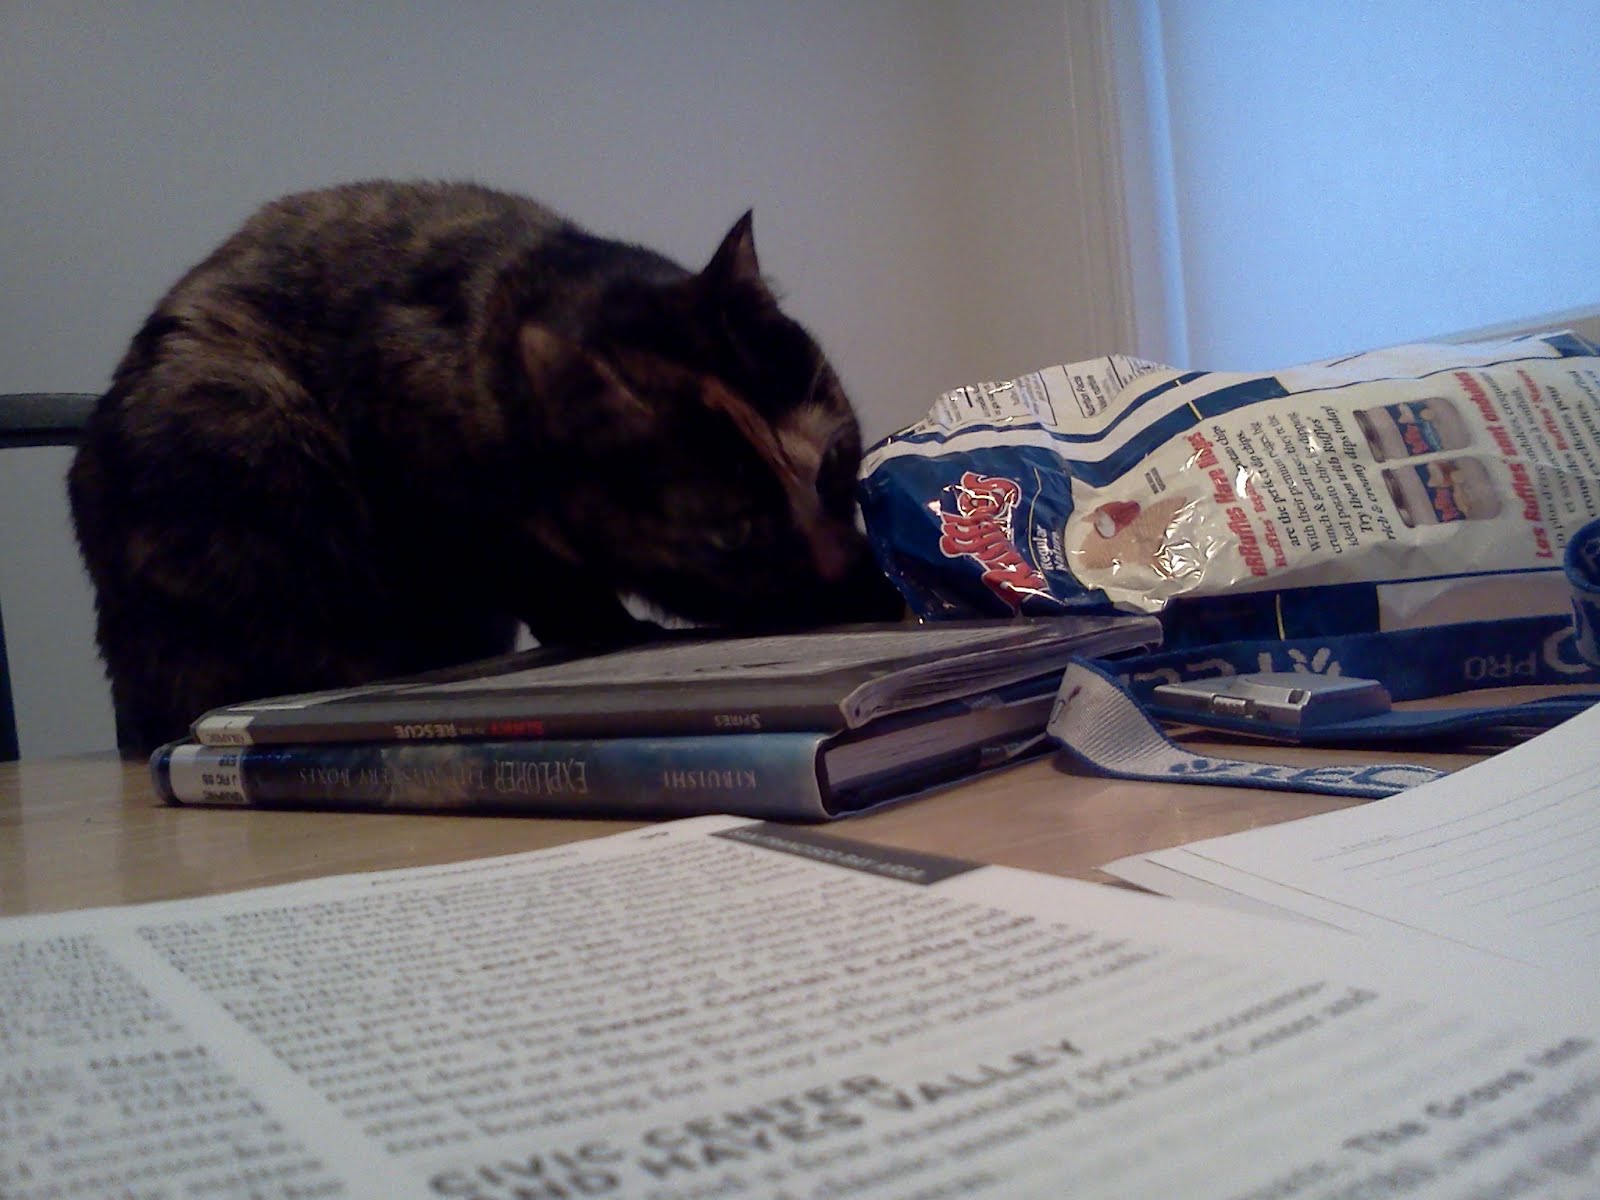
Careful - they also like chips!  (No, we don't normally give them any... they just try to sneak them, and they eat any crumbs they find.)

Friday, 21 June 2013

Sanding the floors - a Beauty and the Beast tale!

(Sorry it's been so long - the final stages and moving and all have taken up all my time.  But I'll try to post the next bits of the story in chronological order...)

When we bought this house, I knew there was hardwood flooring under the ugly carpets.  I hoped it might have the stripes around the edges in the living room.  When we took the carpets out (the first thing we did), I was thrilled to discover that the living room was strip oak flooring, with stripes around the edges, including beautiful Art Deco dipsy doodles in the corners.  The bedrooms were just fir, but old fir floors can still look nice.  But the hallway floor was covered with horrible particleboard sheets, which were not only a stupid idea (they had turned to dust in some spots due to old water damage), some spots were thoroughly saturated in cat (and possibly dog) pee.  Ewww.  The bedroom floors had some significant stains, but I hoped to be able to sand the worst of it off.

It took a couple of months to get to removing the particleboard from the hallway.  It was *very* thoroughly nailed and screwed down.  I borrowed the circular saw from my brother-in-law and carefully cut a strip along the particle board.  After removing the first piece, I discovered that not only did the oak flooring with the stripes around the edges continue into the hallway, but it was laid in a diagonal parquet.  Hand-laid strip oak parquet - the workmanship was just staggering.  After many many hours of laborious cutting, prying, unscrewing and hacking, we finally got all the particleboard off.  The ringed nails really did a number on the underlying floor, and then of course the interaction between the nails and screws and the pet urine was unsightly too.  But I was determined to salvage that floor in all its battered glory!

A few months later, and it was time to refinish the floors.  I didn't want to do it until the heaviest work was done, but the contractor wanted me to do it before his workers installed casing and baseboards.  I thought the sanding might take a day or two.  I rented the sander and the edger and bought all the supplies on Monday morning and I set to work.  First we had to get all the stuff out of the upstairs - that took until the Monday afternoon (Husbandman had moved lots of stuff, but there was still a ton left).  Then I had to remove the quarter round from the baseboards in the bedrooms and the closet fixtures.  A final vacuuming, and I was good to go.
Gunked-up edger

I started with the 36 grit sandpaper, which was suggested for removing the old finish to prevent clogging up the lower grit paper.  This was ok, but some areas had something weird on them (maybe it was just the cat-pee stained finish) that gummed up the sandpaper and made horrible smells when I used the edger.  I finally gave up on the edger for that first pass and used my palm sander to do the edges, which took forever!  (Well, it just felt like forever - really it took until Tuesday lunchtime.)


Then, after a thorough vacuuming, I moved on to the 24 grit sandpaper.  This went relatively well, but took a very long time because the floor was very damaged and needed a lot of sanding.  Back and forth and over and over.   (The contractor later asked why I hadn't used 16 grit - I pointed out that since Home Depot didn't have it, nor did any of my references mention it, I didn't know it existed!  Wish I had known!)  The hallway, though small, took forever.  Working about 12 hours a day, this took me to Wednesday evening.

Too tuckered out to even take off the safety equipment!
(Yes that's me under all that!)
It was exhausting, back-breaking physical work.  My hands ached.  I was filthy.  My back ached.  Bleh.  Husbandman and Kid 2 would pick me up at the end of each day, and put some food in front of me, and I would shovel some in, but otherwise, I was bordering on catatonic.

I followed the 24 grit pass with another vacuuming and moved on to the 60 grit paper.  I probably should have done a once-over with 36 grit again to smooth out the scratchy bits from the 24 grit, but I was in a hurry!  That took up Thursday.  Finally on Friday afternoon, I finished up with 100 grit.  If I were to do it again, I would definitely finish with 120 grit (since I wasn't planning to stain it), especially for the fir floors, because they were still a bit splintery and rough.  But again, I was in a hurry.

Art Deco dipsy doodle - surprise!  That's newspaper under there!
At one point one of the stripey pieces from the corner came loose (uncovering a layer of newspaper under the flooring.)  I wasn't worried about the little piece, and planned to glue it to its neighbours before I applied the finish.  Except I forgot about it when doing the final vacuuming, and the piece got sucked up by the vacuum!!!  So then I had to (carefully) poke through the bag (through it's existing hole, because I didn't have one to replace it) to find this tiny piece of wood.  And I did find it!  

All the used-up drum sander paper piled on the mantle...
So what's this about a Beauty and the Beast tale?

Let me introduce you to Beauty:


The drum sander, though heavy and powerful, was great to work with.  It did exactly what it was supposed to do, with minimum fuss.  You just turn it on, start pushing and lower the lever, quickly pulling the lever back up as you get close to the end of a pass.  

And then there's the Beast:


The Evil Edger.  I don't know who invented this machine, but they should be smacked upside the head.  It's an incredibly stupid machine.  It's very heavy, and it sort of has some tiny caster wheels, but it also has a tendency to just take off randomly in one direction or another.  It has no handle, so you have to squat and bend over to use it (remember how I said it's heavy?) and there's a cord that - as you walk along the edge of the wall with it - keeps getting in the way or unplugging or nearly getting under the sanding disk.  There's a giant dustbag that inflates and ends up between your legs, totally in the way.  It has a bolt that attaches the sandpaper disk to the bottom, which is very tricky to screw on just so that the sandpaper disk sits flat and keeps the whole surface of the disk in contact with the floor.  I hope I never have to use such a machine again.  And if I ever meet the inventor, I'm going to give him a piece of my mind and then some.  

But I did get through it, and here's what the floors looked like after sanding:

The master bedroom - the fir smelled lovely as it was being sanded.
Except where there was cat pee - that didn't smell nice at all.
The living room.

The sanded hallway - battered and bruised but still beautiful!


Then came some repair work. I glued down that stray piece of stripey bit.  Exposed nail heads got punched down (there were a million of those).  And then I filled divots and nail holes with stainable wood filler. And then another pass with the vacuum.

Finally it was ready to apply the polyurethane finish.  I used the Minwax oil-based polyurethane stuff for maximum durability.  Of course being solvent-based, I couldn't do this until everybody was out of the house, so I had to do it over the weekend.  The organic vapour canisters for my mask worked very well, though.  I didn't smell anything until I took the mask off.  What with sanding and vacuuming and wiping with tack cloth, I didn't finish the first coat until 5 am on Saturday (just in time to go to work) and the second coat at 3 am on Sunday.  (Ha! Sleep is for wimps!  Not.)  Because the product is amber-coloured, it was easy enough to apply the first coat.  But the second coat didn't go as well, especially because I was working in the middle of the night by the light of desk lamp which was plugged into a long extension cord.  When I came back to the house on Monday morning I was crushed to see that I had missed some large patches.  I had to do a 3rd coat, and it had to wait until the following weekend, because the plumber and electrician were coming to finish up and we had to move in!

The good news is - it did finally get done.  Not perfect, but plenty good enough.  I nearly cried when the movers scratched the finish in the doorway to Kid 2's room, but a few deep breaths got me over it.  And here is the final result:

Finished hallway floor
Positively luminous in the late afternoon light!  I love how in that light, it looks like they might have laid out the floor so that the variations in wood grain/colour give a slight checkerboard appearance.  Buried treasure found.

Saturday, 30 March 2013

Sign of a happy house...


I happened to catch this one as I was going through the house taking pictures of all the "inside the walls" stuff before they put the insulation and drywall up.  I think she's happy with her new back door!  (Yes, I think of my new house as a woman - and she's a fussy one!)

We are now happily ensconced at our next house-sitting gig in Dunbar.  This came about as a result of my very first post here!  Husband-man's friend D. shared it with his parents - the W's - via Facebook.  They happened to need someone to house-sit just around the time we needed a house to sit in.  And they kindly let us stay in their little basement suite for the week between the end of our previous house-sitting gig and the beginning of their vacation.  It was a bit of a tight squeeze, but we made it - it's a good thing we still like each other!  Now they've headed out on a grand adventure in Italy (have fun!) and we're taking care of their lovely home.

The W's have bird feeders in the backyard, and Kid 2 has enjoyed watching the birds and refilling the feeders.  He was even able to pick up one of the birds in his hands for a moment, which was very thrilling.

The house is lovely and homey and filled to the brim with interesting books.  It's been a pleasure so far.  But it is also a little bit saddening, because this house is a very similar design to our new house, but of  course it's the higher-end version (it has an upstairs and stained glass in the front door and windows), and it's been kept up over the years.  It makes me just a little sad to see what our house might have been, poor neglected girl.  But it also gives me ideas and inspiration for things I want to do.  Oh, little house, just wait and see what pretty things we have in store for you!

Oh, and the kitchen?  Good friends advised and the budget decreed: Ikea!  I ordered all my cabinets last week... now to sort out the delivery (which was supposed to happen yesterday but... well... it didn't work out.)